Many years ago, I published a process for mounting film chips in slide mounts. It involved a lot of fiddling with temporary bits of tape, and scraps of plastic to protect the film from fingerprints. I’ve replaced all of that by using a long, thin piece of clear plastic to help me manipulate the film. My mounting work now requires less time, and I make fewer mistakes.
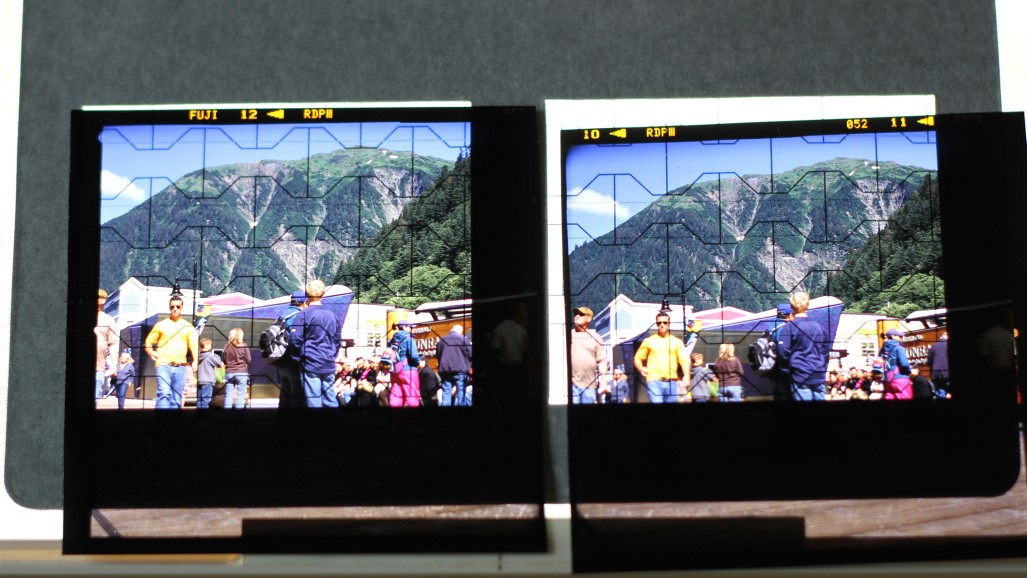
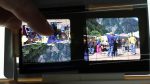
The first step is, of course, choosing an image and snipping the pair from the strip of film. As they come from the camera, the pair can be cross-eyed viewed. We must swap them left <-> right for normal viewing. The sticky part is getting them swapped left for right, while also flipping them front to back (because we will be taping our film face down into the smaller, front openings of the mount).
-
- From the camera
-
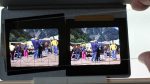
- Face up in a mount
-

- Flipped over and slid out
After mounting too many pseudo-stereo images, I have settled on the following process:
- Find and open an appropriate mount
- Without removing the film from the processor’s sleeve, snip the left and right images apart
- Place the chip in my left hand onto the right mount aperture
- Place the chip in my right hand onto the left aperture
- Close the mount
- Turn the mount over, with the opening still at the bottom
- Slide the film chips out onto a piece of paper or card stock
- Place the same mount, in the same orientation (face down) into my mounting jig
Really, I do those steps for every image I mount. If I get lazy and take short cuts, I end up tripping over pseudo images later.
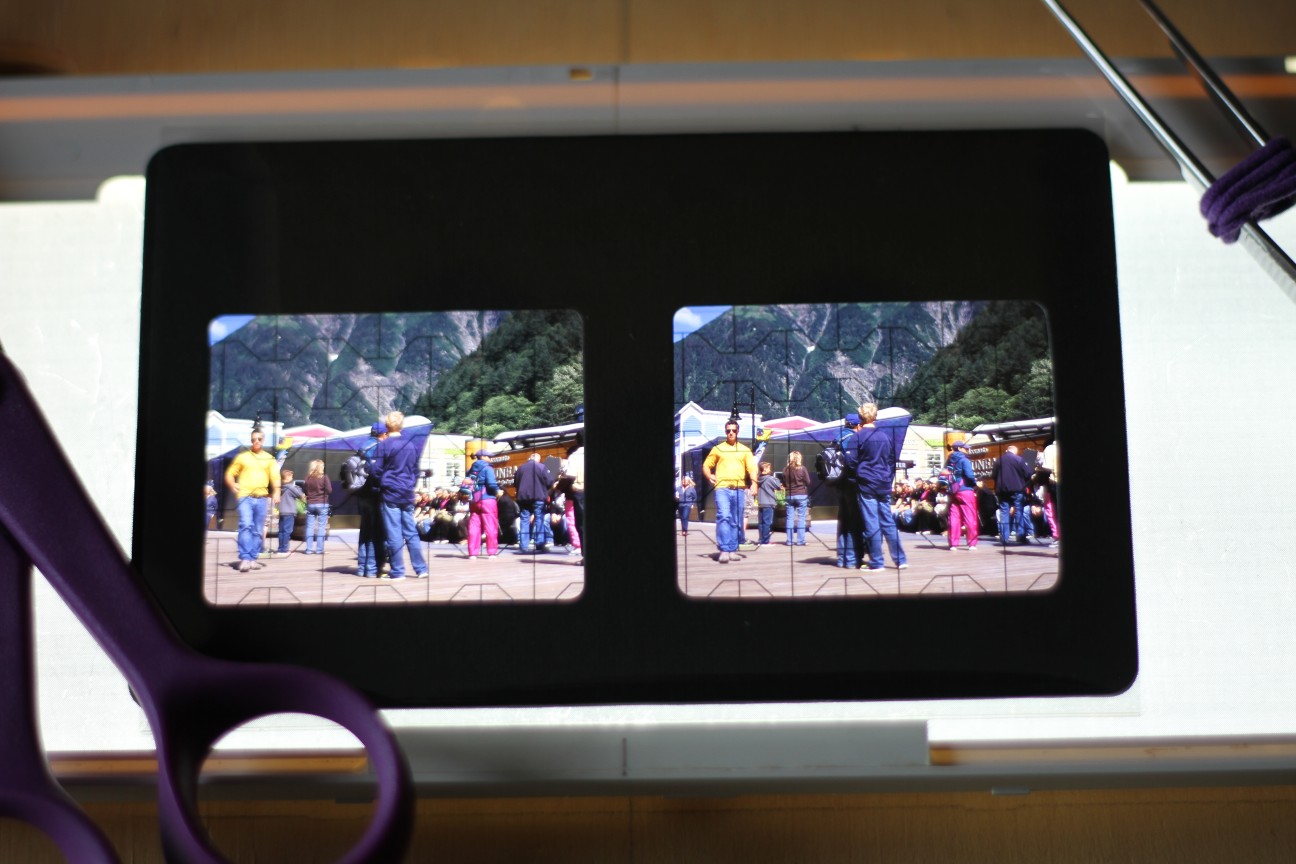
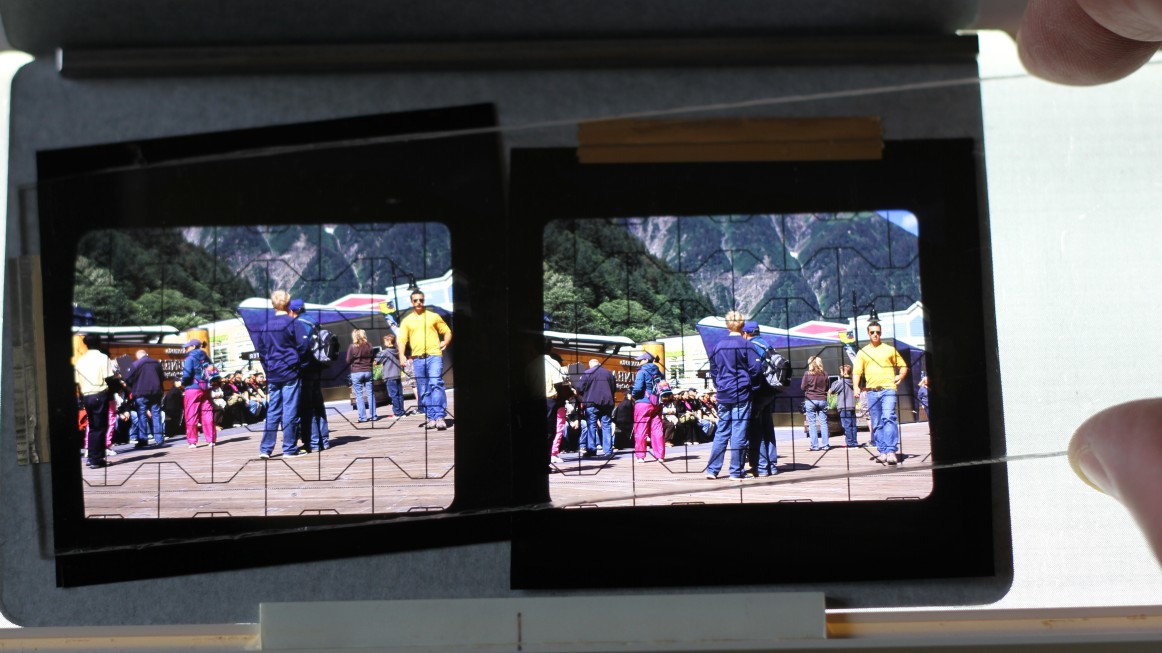
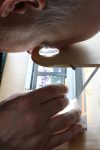
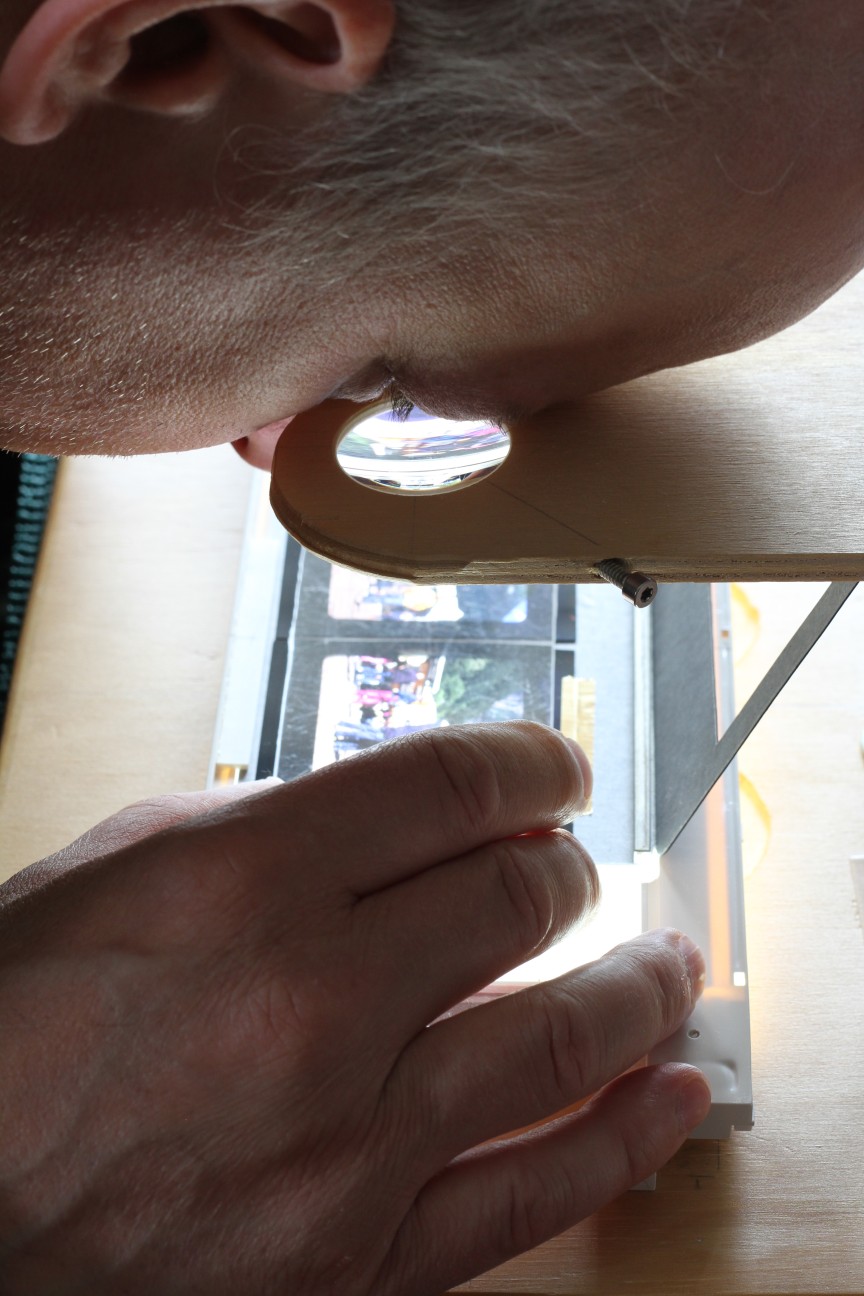
When placing the open mount into my mounting jig, care must be taken so it correctly aligns with the “screen” in the jig. In this image, we can see the right side of the mount is a little high. When it is correctly positioned, I drop a small bar of steel across its top edge. (I’ve installed a super-strong magnet under my light. The clamping force between the steel that magnet is enough to keep the mount stationary while I’m working on it.)
With with mount positioned and fastened, I take the chip from the right side of the card (step 7, above) and remove it from its protective sleeve. Without flipping it over, it gets put onto the aperture on the right side of the open mount. I can slide it around to crop and compose. When I have it where I want it, I tape it down. I use a piece of thin clear acrylic over it, so I can press it down with a finger while applying the tape.
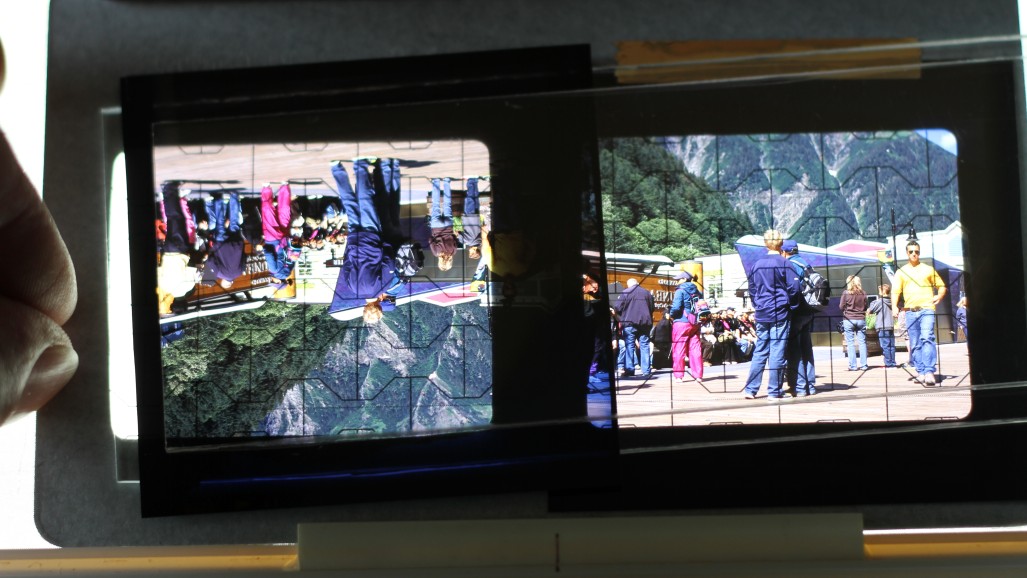
With one chip securely attached, we now need to add the second. By adding a long “handle” to it, we’ll be able to precisely position it without obscuring the other half of the image. This handle is nothing more than a 55x180mm piece of thin, clear acrylic.
- Place the “handle” right on top of the open mount
- Remove the processor’s sleeve from the remaining film chip
- Flip the chip top -> bottom and put it near the left end of the handle
- Tack it in place with a bit of tape, letting the tape protrude past the end of the handle
- Flip the handle (and the attached chip) over
-

- Position it on its carrier
-
- Tack it down

-
- Flip it over
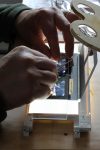
Now that film chip can be manipulated with both left and right hands, without obscuring the stationary chip. The handle crosses over the previously mounted chip, pressing it flat.
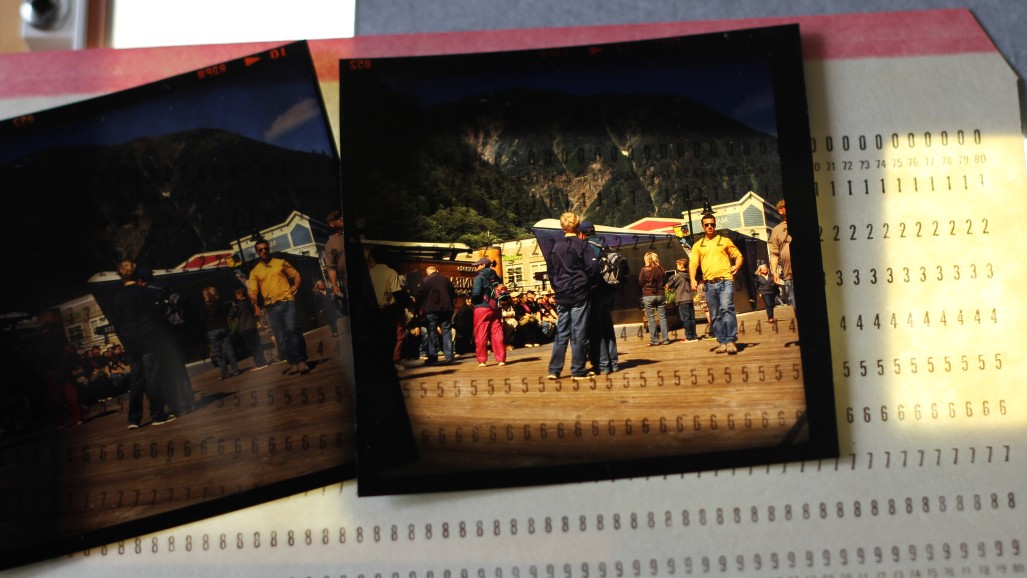
Now it’s just a matter of peering at the image while moving the chip around until it is correct.
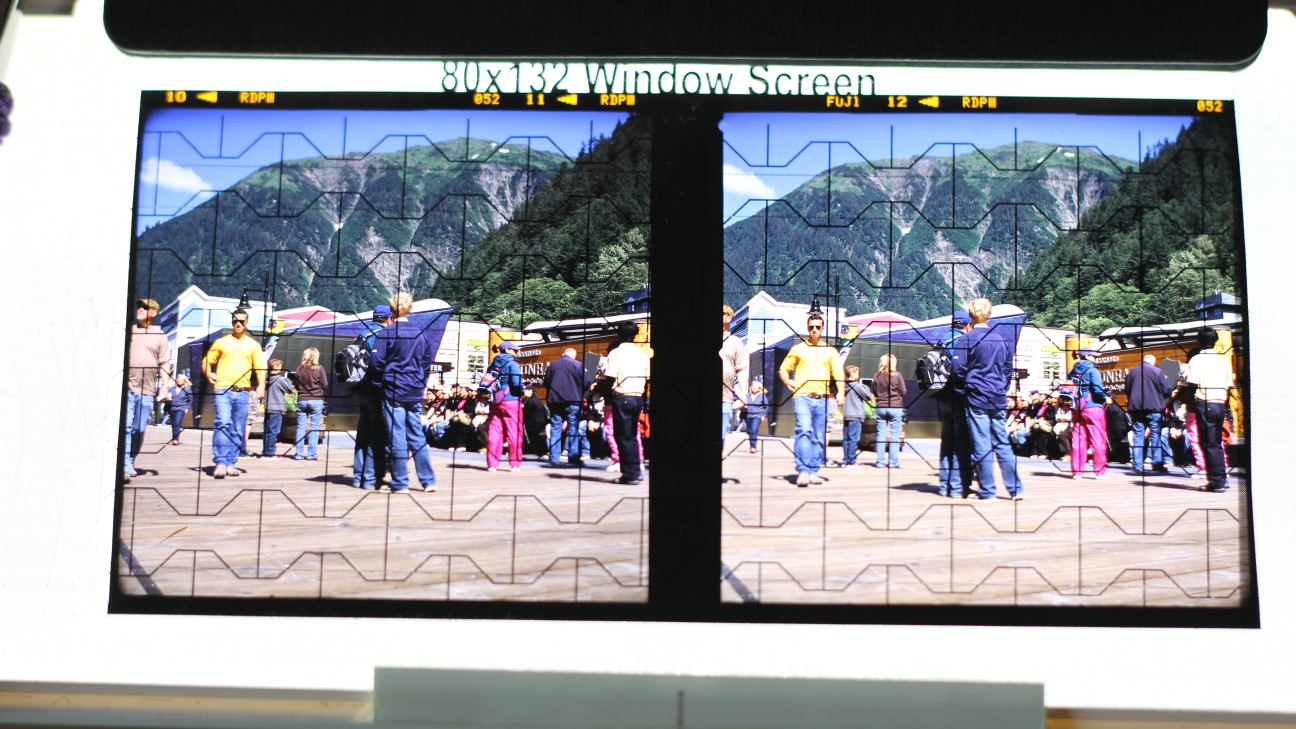
The “screen” on my jig provides horizontal lines to help align elements in the two chips. The chip is easy to slide up/down (or rotate) using the handle. Alternating closing my left or right eye lets me establish which way I need to shift/rotate the chip.
The keystone lines in the “screen” establishes the stereo window. With rotation and horizon set, moving the handle to the left pushes the image away from the window. Moving to the right pulls the image towards the window.
-
- Chip on handle

-
- Positioning the chip
-
- Taping it down

