|
|
I have included file sizes in the image links. Please take a moment to check these sizes before you begin downloading images for viewing. Several of the JPS files are very large and will be painful to download over a modem link. The images are presented in cross-eye
and anaglyph format. If you prefer a different format or size, please give
the Stereoscope applet a try. |
|
|
|
|
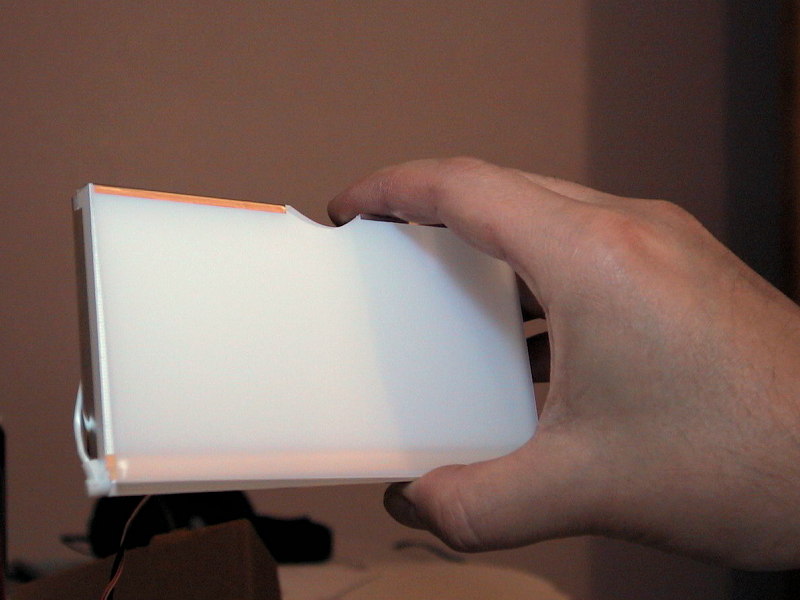
Tweaking The Illuminator
Further consideration convinced me that the Star-Trekian look was wasting light that could otherwise be used to illuminate my slides. I went back to my light sandwich and made further modifications. In the end I created a five layer illuminator:
|
 |
The reflective sheet was glued to the back of the acrylic block. I used a light-duty acrylic glue (commonly used to secure photographs into albums) across the bottom and top edges of the sheet. It had no measurable or visible effect on the light output so I suspect I could have used it over the entire surface. The bottom edge of the reflective sheet was wrapped around the fluorescent bulb and taped to the front of the acrylic block
The aluminum foil was glued to the back of the reflective sheet with the same glue. Here, I used about four stripes running the width of the block. I wasn't too concerned if it wrinkled a little. I didn't take the time to re-measure the light output from the illuminator after installing the aluminum, but there was less light leaking from the back and I figure it had nowhere to go but out the front.
The hard plastic backing board was cut from the hard translucent portion of the original light panel. This was then taped onto the back of the acrylic block (down the left and right sides) to protect the reflective sheets.
The diffuser sheet was taped along the top edge of the acrylic block and allowed to hang free down the rest of the surface.
The concept was proven and it was now time to make the electronics a little
safer by moving them inside the viewer. Next
![]()
[ Top of Viewer Project ]