|
|
I have included file sizes in the image links. Please take a moment to check these sizes before you begin downloading images for viewing. Several of the JPS files are very large and will be painful to download over a modem link. The images are presented in cross-eye
and anaglyph format. If you prefer a different format or size, please give
the Stereoscope applet a try. |
|
|
|
|
Trimming to Size
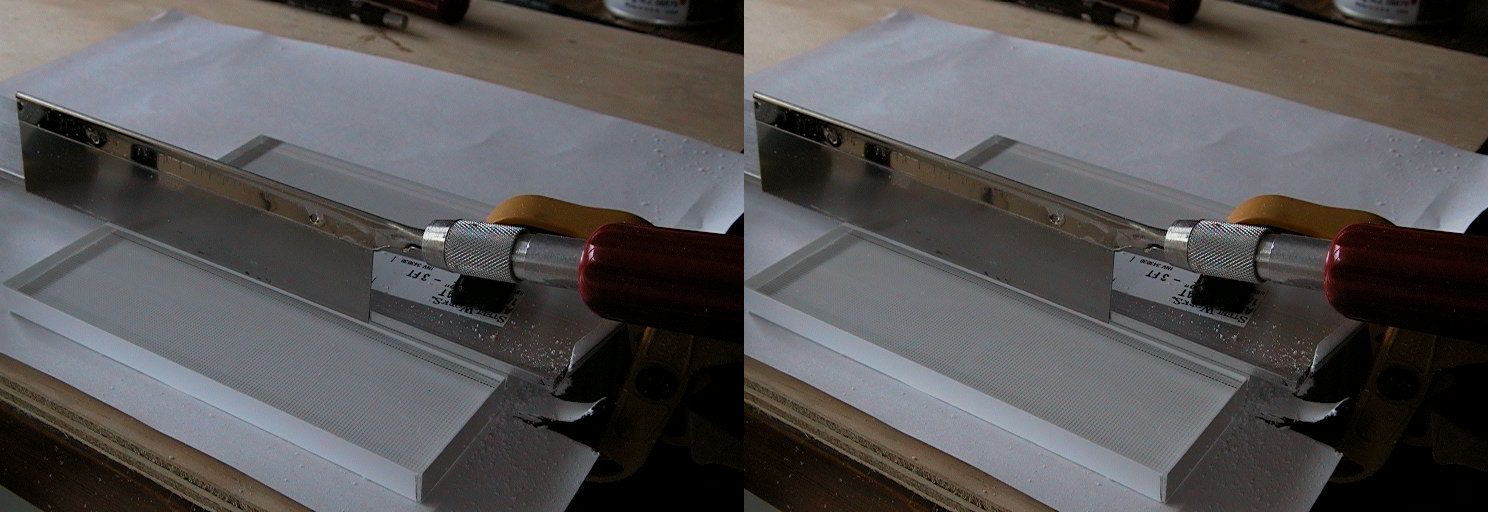 |
Thick sheet acrylic can be cut many different ways. I chose to use a razor-saw and Dremel tool because those were the tools I had on hand. A table saw, band saw, hack saw, or Roto-zip are also possible. Don't let the blade on your power saw get too hot or you'll be melting rather than cutting. Beyond the usual acrylic cutting recommendations, you need to watch for the reflective "dots" on the back of the panel. They are quite easy to scratch off. Don't do as pictured here. I strongly recommend you mask the entire surface of both sides with something like gaffer's tape. If you protect the surfaces now, you won't need to repair them later. |
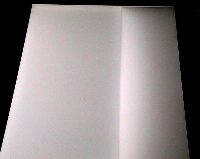
Take your new, shorter section of acrylic sheet and place it back in your original light panel shell. You'll want to be sure to place the un-taped and un-cut edge against the fluorescent tube before you replace the cover and turn it on. What you should see is something like this:
| The fluorescent tube is on the left side and you can see
that the panel is now much brighter on the left than on the right.
You can also see another hot-spot where the light is leaving the newly
cut edge of the acrylic sheet. This is not an even light source for use behind our slides. |
 |
|
|
|
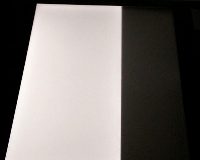
| This is the same panel after applying some 3/8"
silver tape to the newly cut edge. There is now a distinct break
where the panel has been cut down, and light output is much more even
across the whole panel.
An extra benefit of shortening the panel is an increase in brightness. At both 9V and 12V, there is now an extra .5EV with which to work. Since the power consumption has not changed, we've just picked up some free light! |
 |
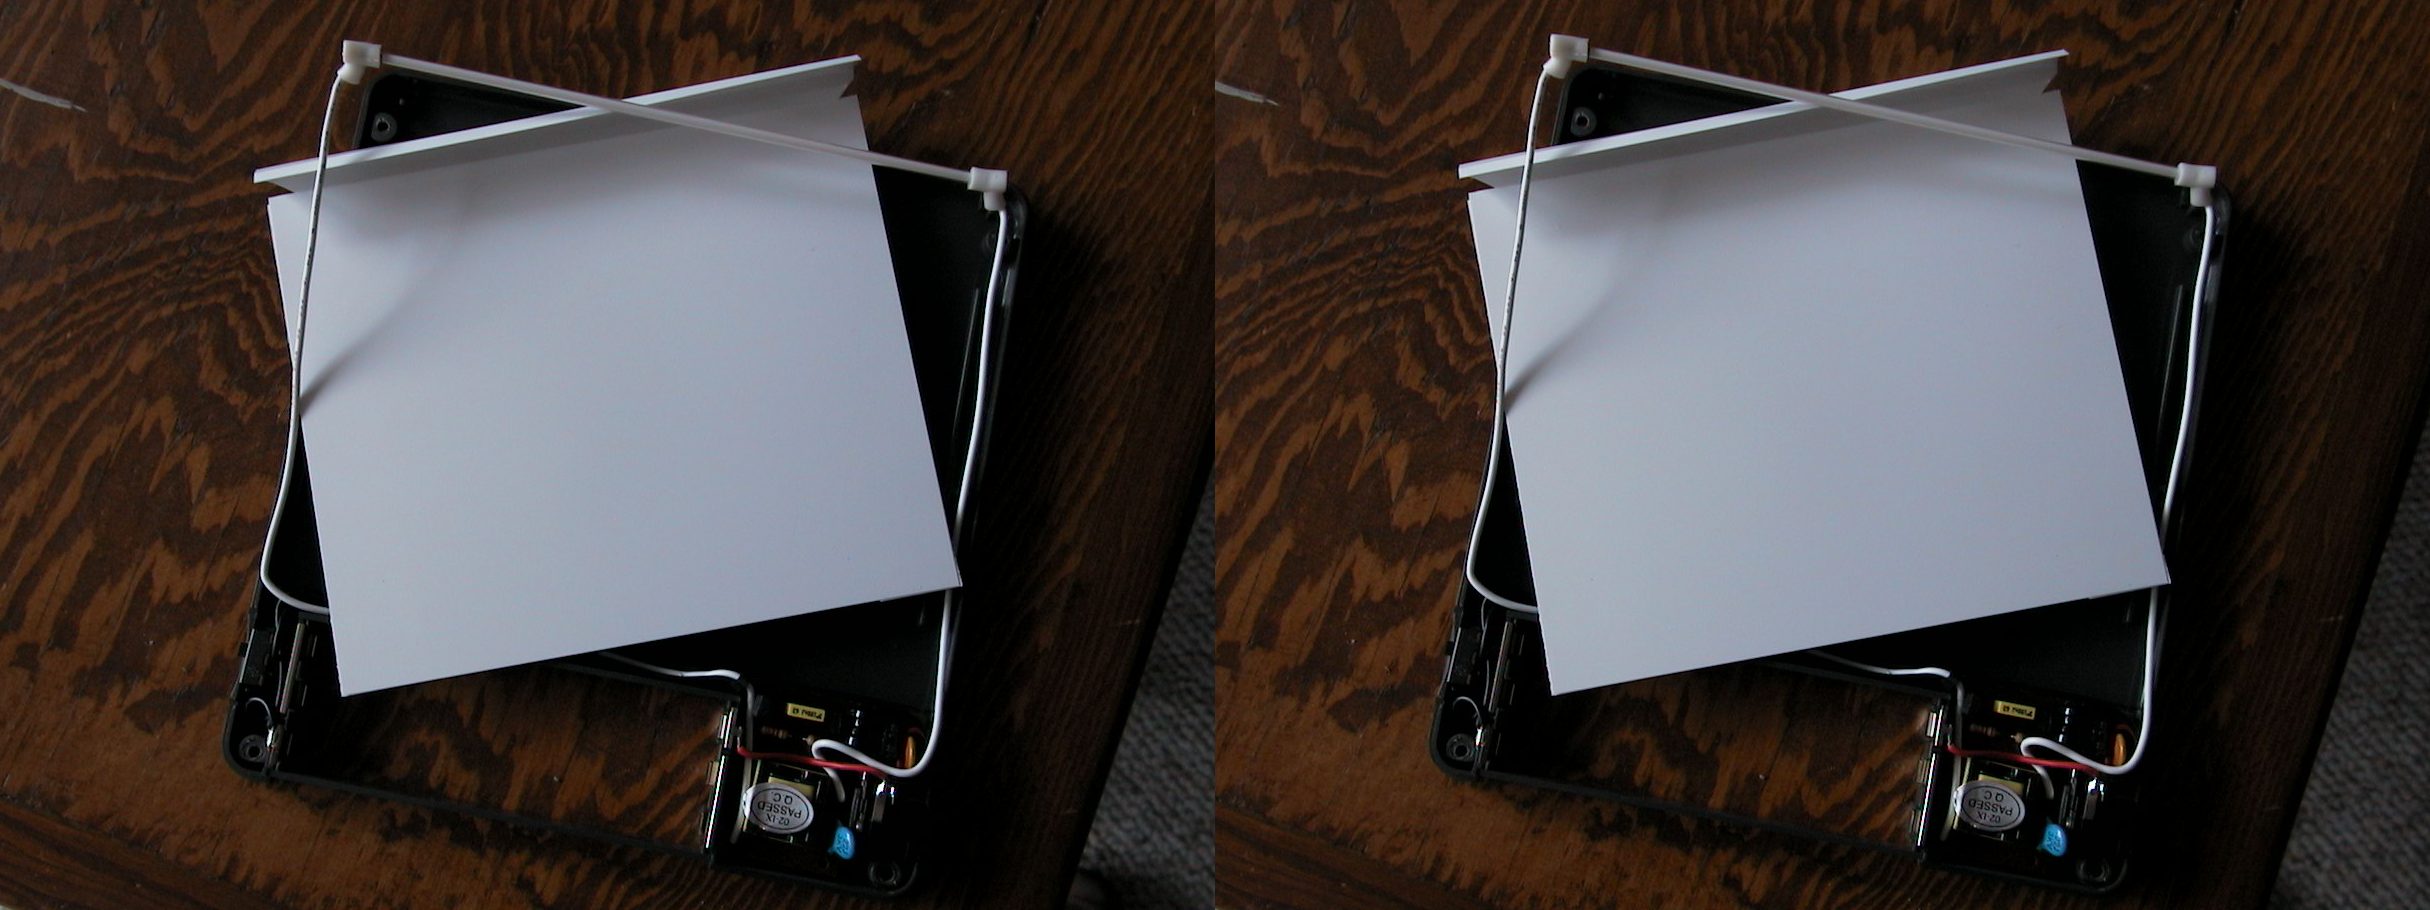 |
Our last cutting steps involve two more pieces of the original light panel.
We need to take both the reflective sheet (rear) and diffuser sheet (front) and trim them to match our new smaller-sized acrylic panel. A paper trimmer or pair of scissors will do the trick but be careful with that diffuser sheet! When I ruined my diffuser sheet, I had to devote a Sunday afternoon in pursuit of a
replacement. Next |
[ Top of Viewer Project ]