|
|
I have included file sizes in the image links. Please take a moment to check these sizes before you begin downloading images for viewing. Several of the JPS files are very large and will be painful to download over a modem link. The images are presented in cross-eye
and anaglyph format. If you prefer a different format or size, please give
the Stereoscope applet a try. |
|
|
|
|
Packaging the Electronics
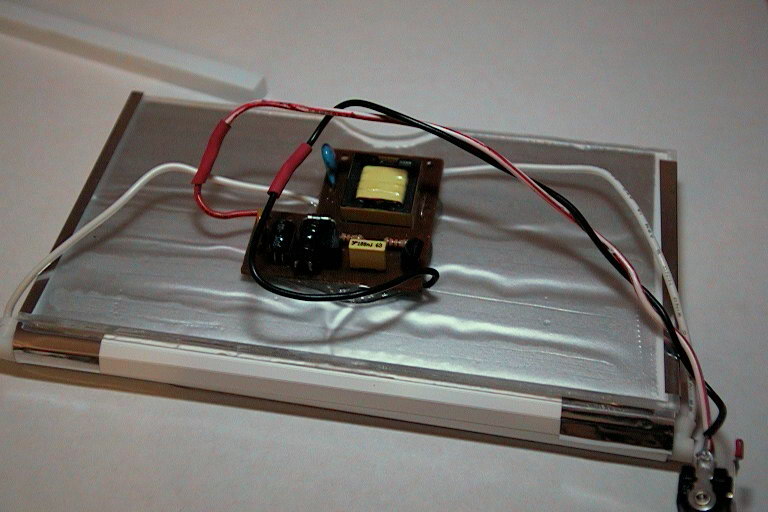
This was a pretty simple part of the operation. It involved picking the portions of the original electronics I wanted to keep and fitting them into the remaining space in the viewer. While I have confidence that there is space inside the viewer for batteries, my design parameters include external power supplied through a DC jack. There would be no batteries or even a power switch so all I needed to move from the original light panel was:
|
 |
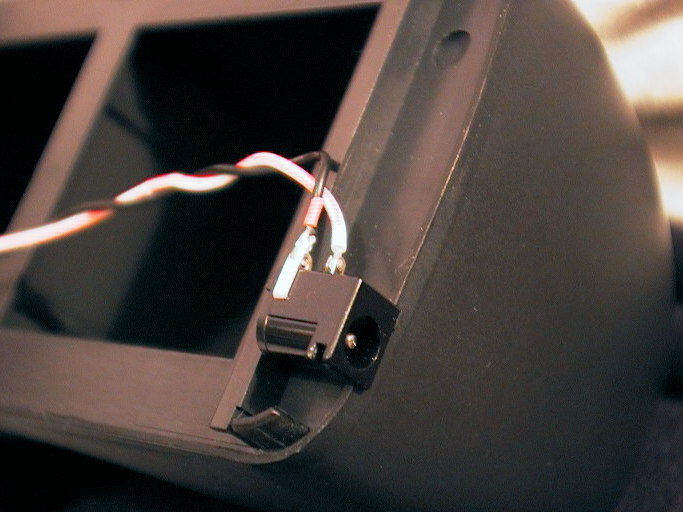 |
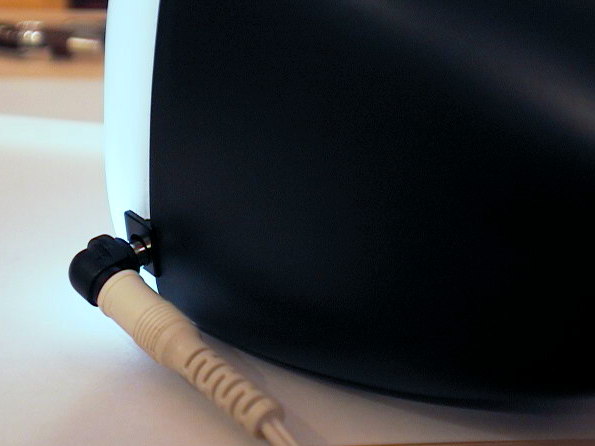
The DC jack was placed on the left side near the bottom edge. The seam between the original diffuser and the black viewer body provided an excellent spot to insert the jack. Then, it was just a matter of using the X-Acto knife very carefully in the two halves of the shell. I placed the inverter in the middle of the back of my light sandwich with a very large blob of Shoe-goo. There was excess wire length, so I trimmed it to size and soldered it back into place. Again, no power switch was used. When the unit is plugged in, the light will come on. The result was a trim package that let me hold the light and electronics
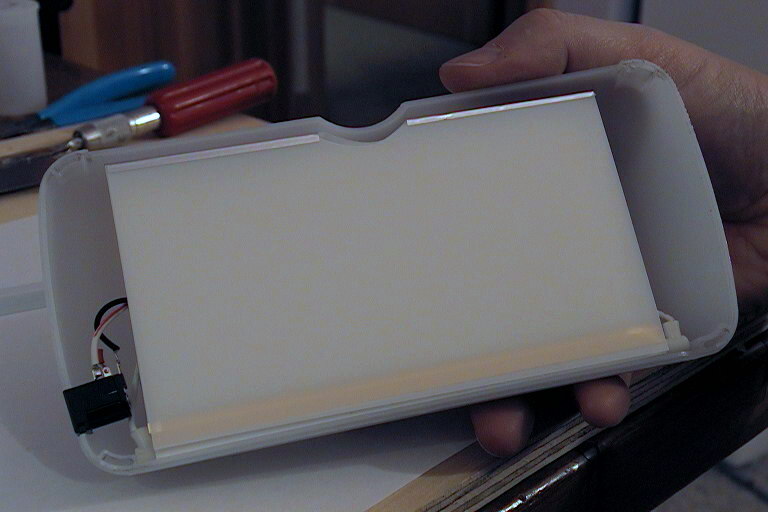
in the palm of my hand and fit fully into the stock diffuser cavity. With confidence that the illumination of the
viewer was going to succeed, I now turned my attention to making my slides
fit and look great in this viewer. Next
|
 |
 |
 |
[ Top of Viewer Project ]