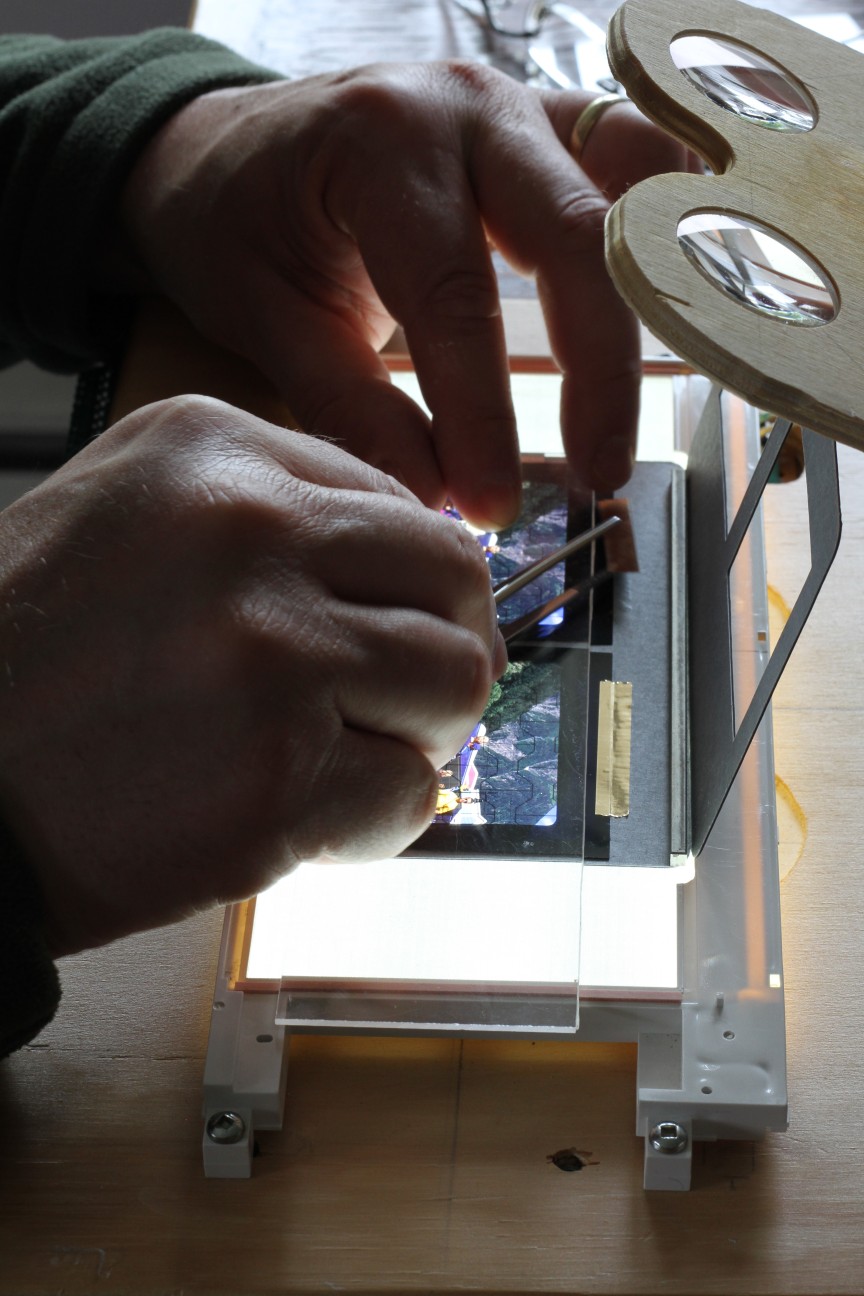
Taping it down
Many years ago, I published a process for mounting film chips in slide mounts. It involved a lot of fiddling with temporary bits of tape, and scraps of plastic to protect the film from fingerprints. I’ve replaced all of that by using a long, thin piece of clear plastic to help me manipulate the film.
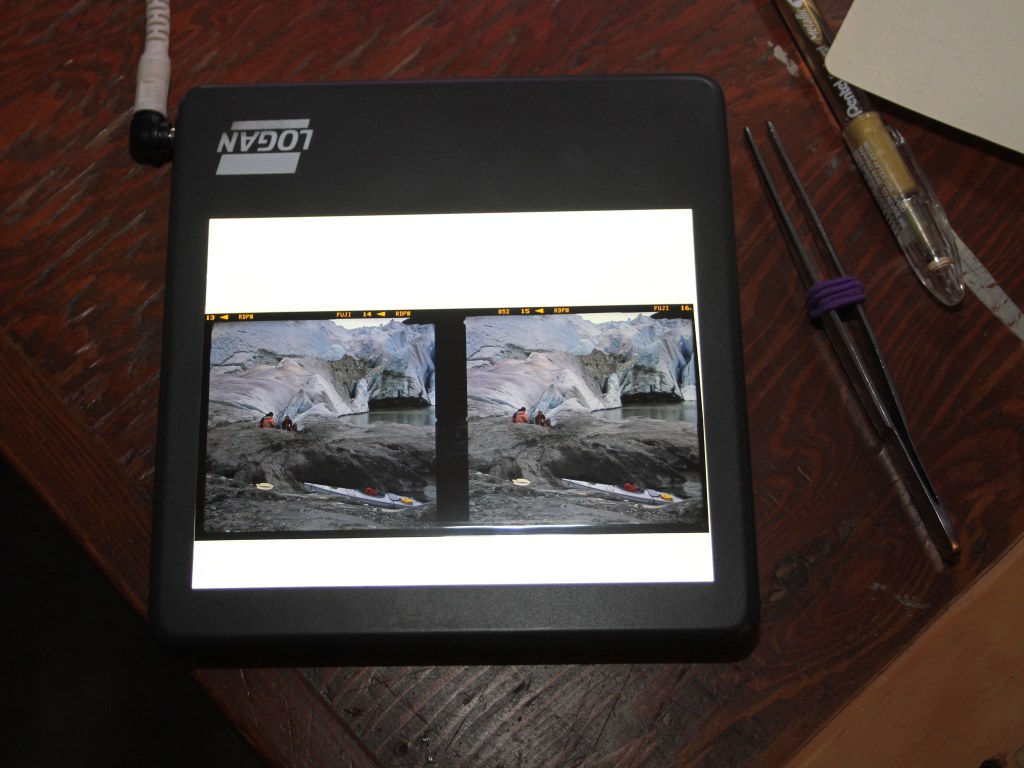
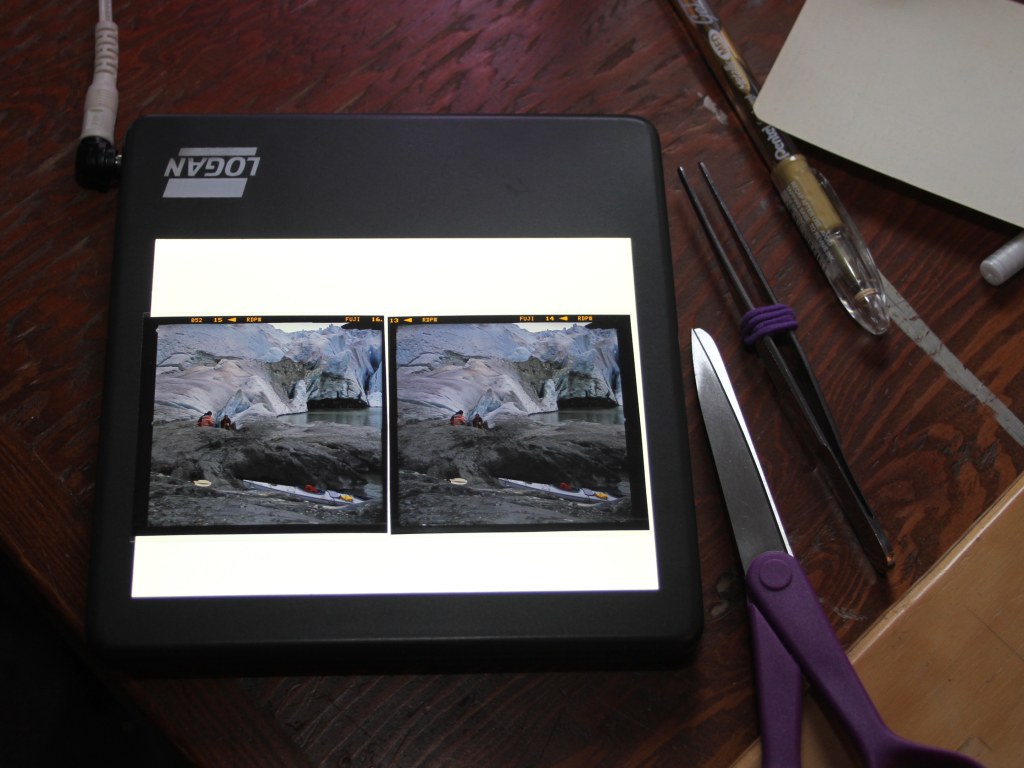
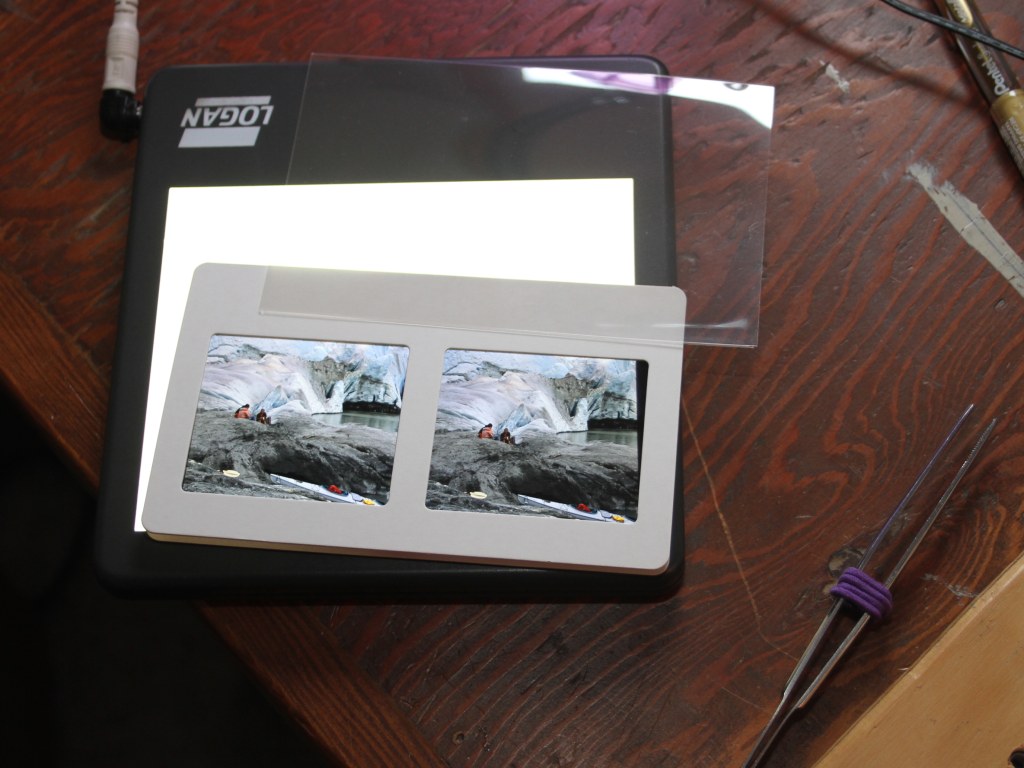
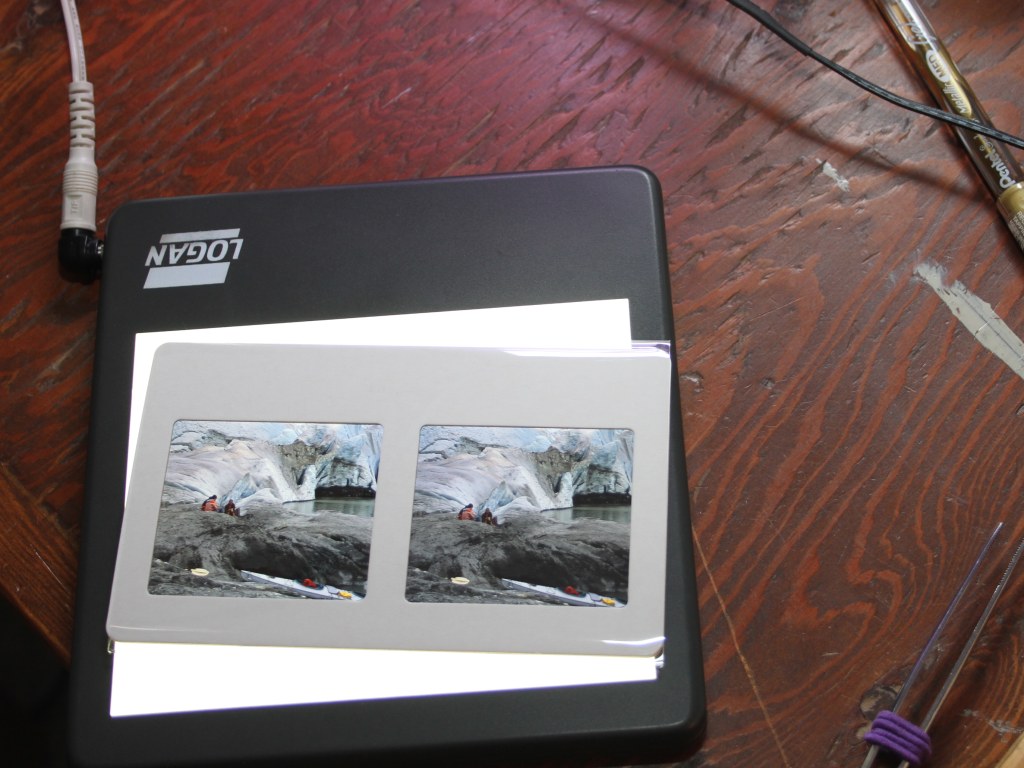
]]>Sometimes, however, I want to see the image in a viewer before making my decision. In these cases, I follow a tip from Paul Talbot. I reach for one of my protective sleeves, slip my cut & reversed film chips in, and drop it into my viewer. The images aren’t precisely aligned, but they are often close enough. This technique also lets me try different mount apertures by holding them in front of the image.
If my cross-eye preview of the uncut film finds a promising image, I cut it from the roll. If this still looks like a candidate for mounting, I snip the halves apart and swap them left for right.
Then I can slip each half into a slide cover. “Alignment” consists of smacking the bottom edge of the sleeve against the table. This settles both image halves at the bottom of the sleeve. It isn’t precise. It doesn’t set the window. It’s just “good enough”.
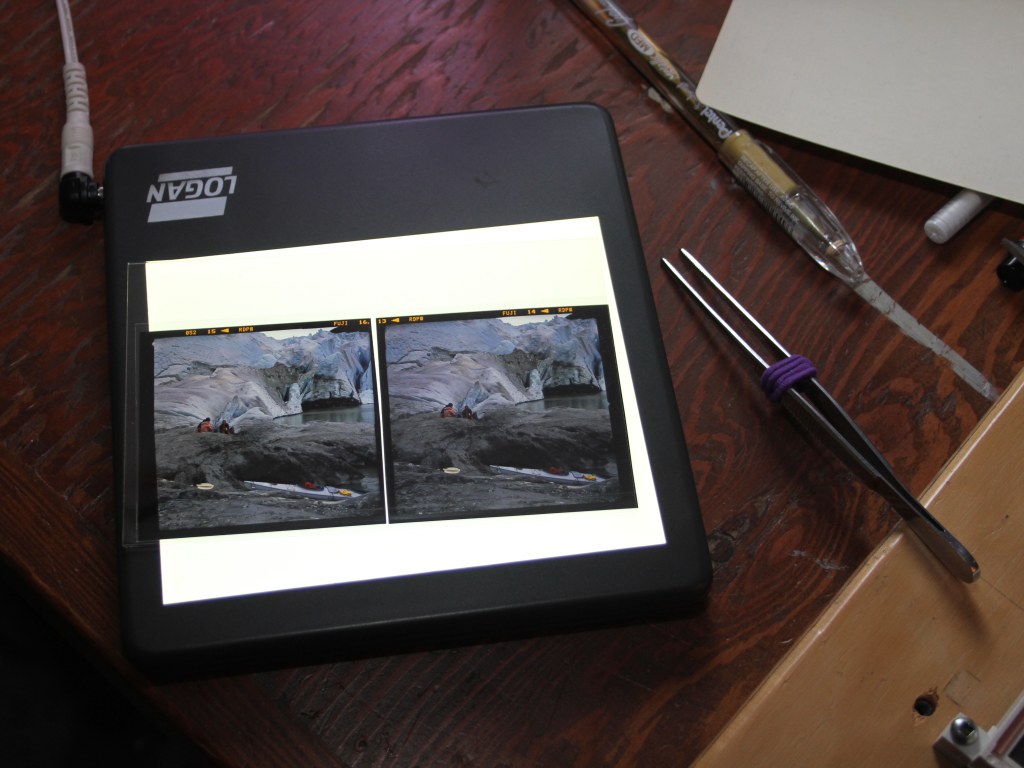
By dropping the image in a viewer, I can decide if it deserves more time and precision mounting. If so, I select a suitable mount and finish the job.
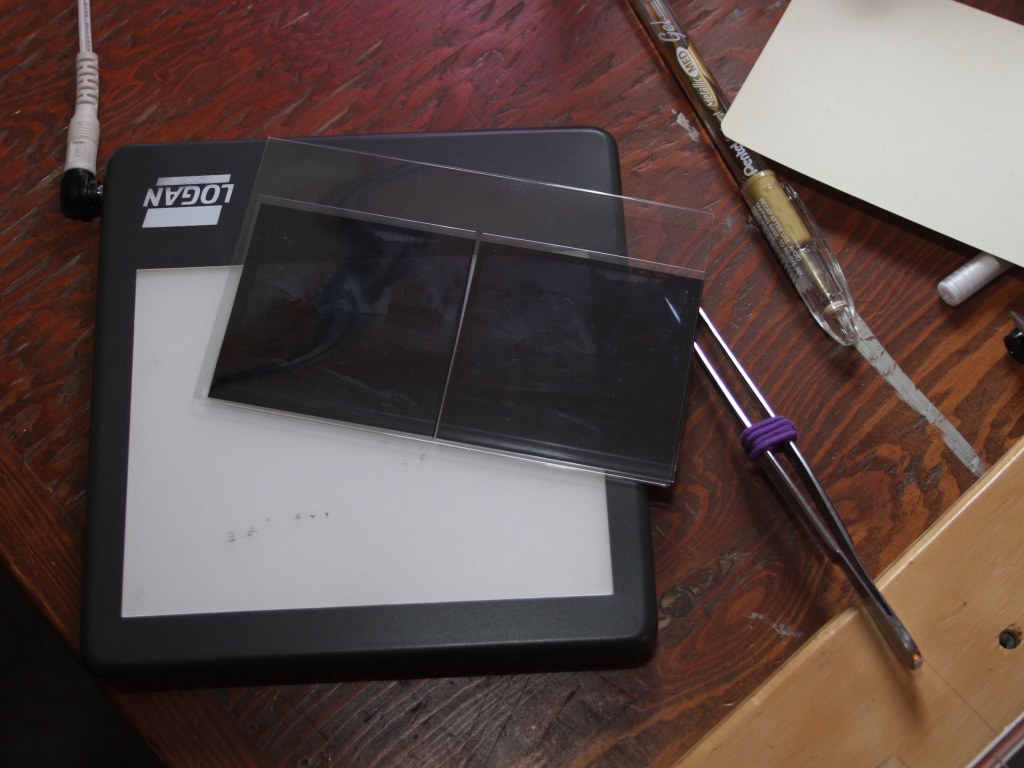
If the image isn’t worthy of a mount (or the time required), I’ll usually leave the halves in the sleeve. The next time I’m pawing through my box, I may change my mind and give it a mount.
]]>
50x50 and 50x40 mounts
What good is an image if you can’t view it?
How can you view your image if you can’t mount it?
There are several mounts from which to choose. How are they simmilar and how do they differ?
I’ve gathered some information on the multiple mounts available for medium format stereo slides.
]]>