Sometimes, however, I want to see the image in a viewer before making my decision. In these cases, I follow a tip from Paul Talbot. I reach for one of my protective sleeves, slip my cut & reversed film chips in, and drop it into my viewer. The images aren’t precisely aligned, but they are often close enough. This technique also lets me try different mount apertures by holding them in front of the image.
If my cross-eye preview of the uncut film finds a promising image, I cut it from the roll. If this still looks like a candidate for mounting, I snip the halves apart and swap them left for right.
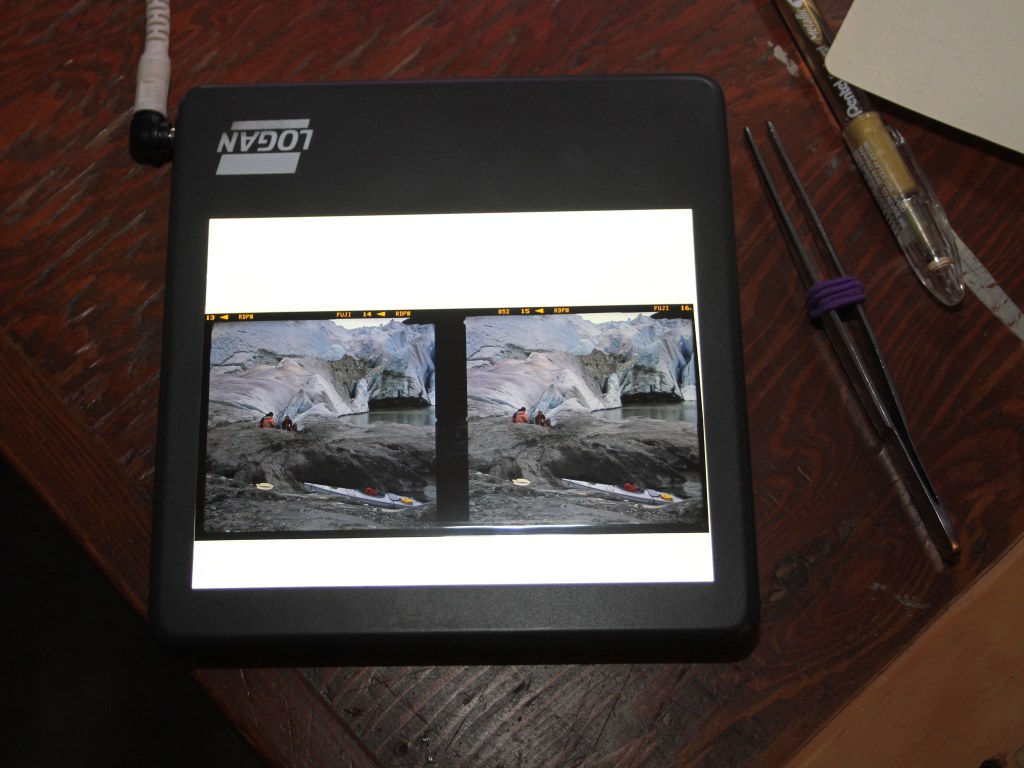
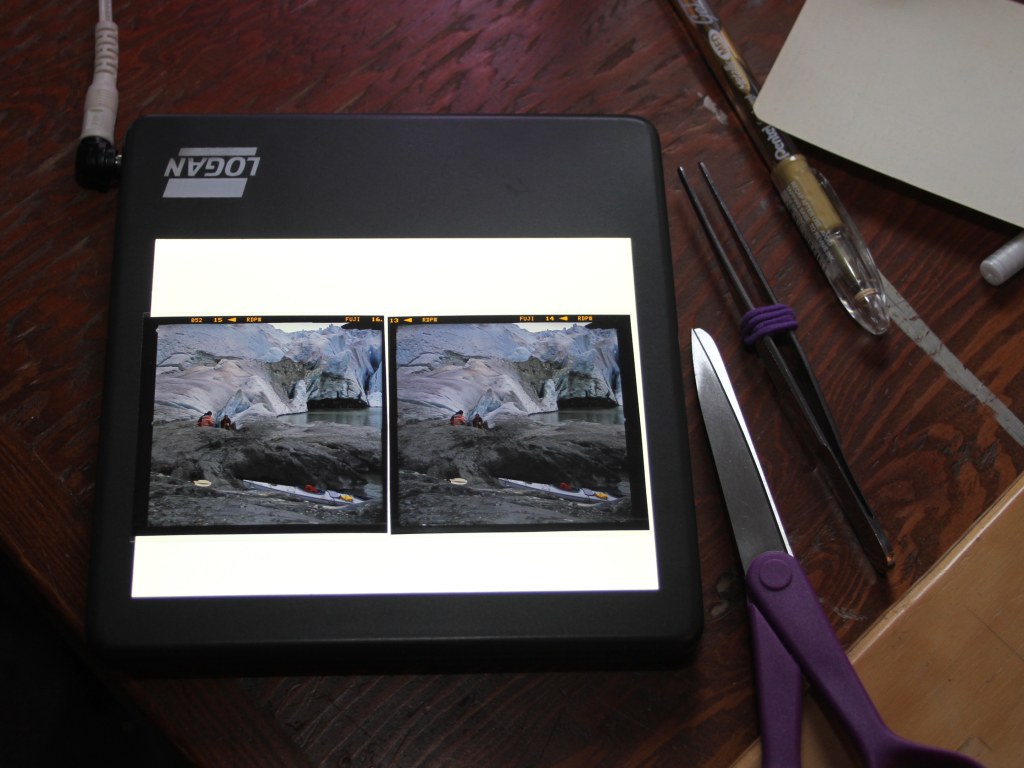
Then I can slip each half into a slide cover. “Alignment” consists of smacking the bottom edge of the sleeve against the table. This settles both image halves at the bottom of the sleeve. It isn’t precise. It doesn’t set the window. It’s just “good enough”.
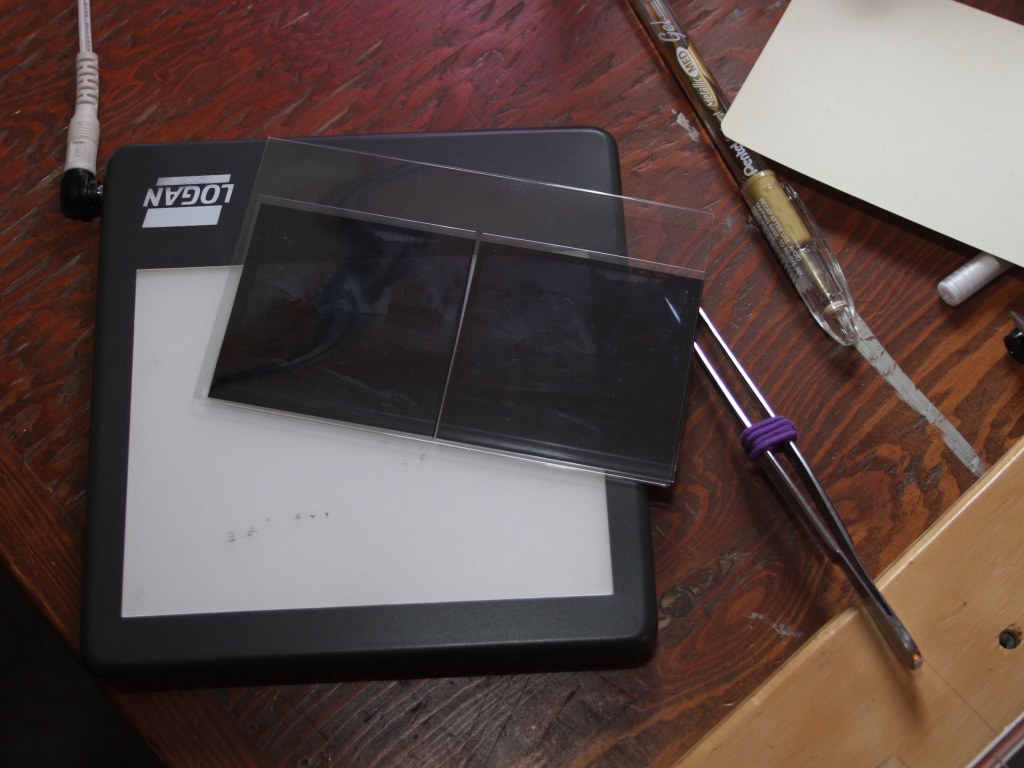
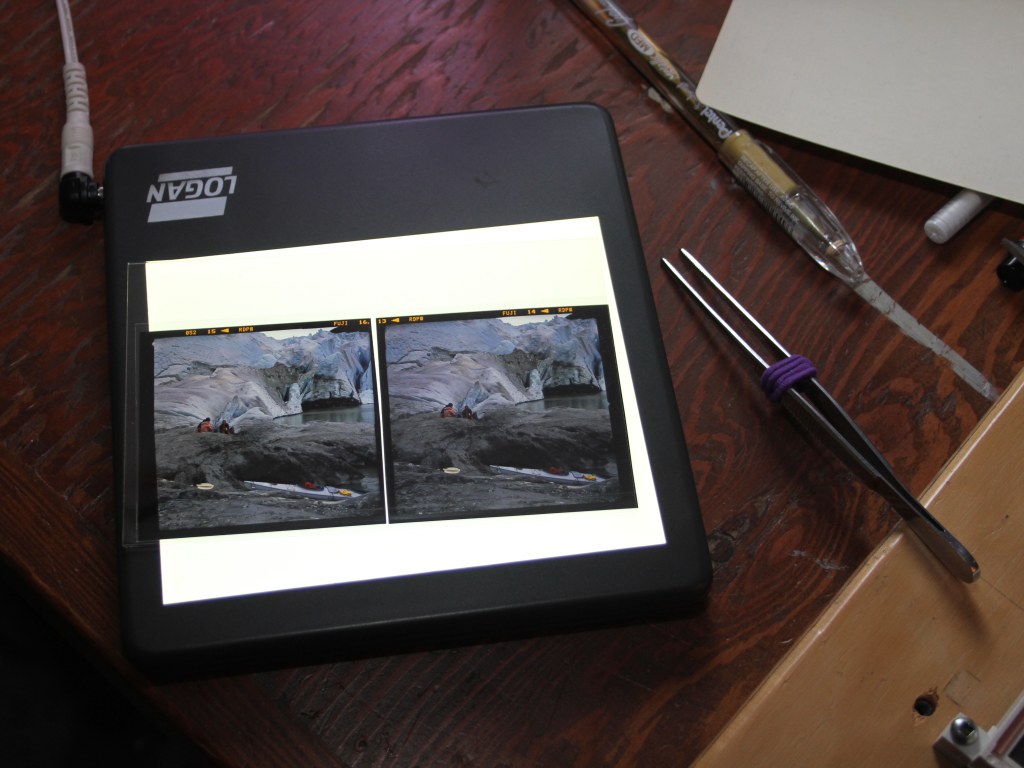
By dropping the image in a viewer, I can decide if it deserves more time and precision mounting. If so, I select a suitable mount and finish the job.
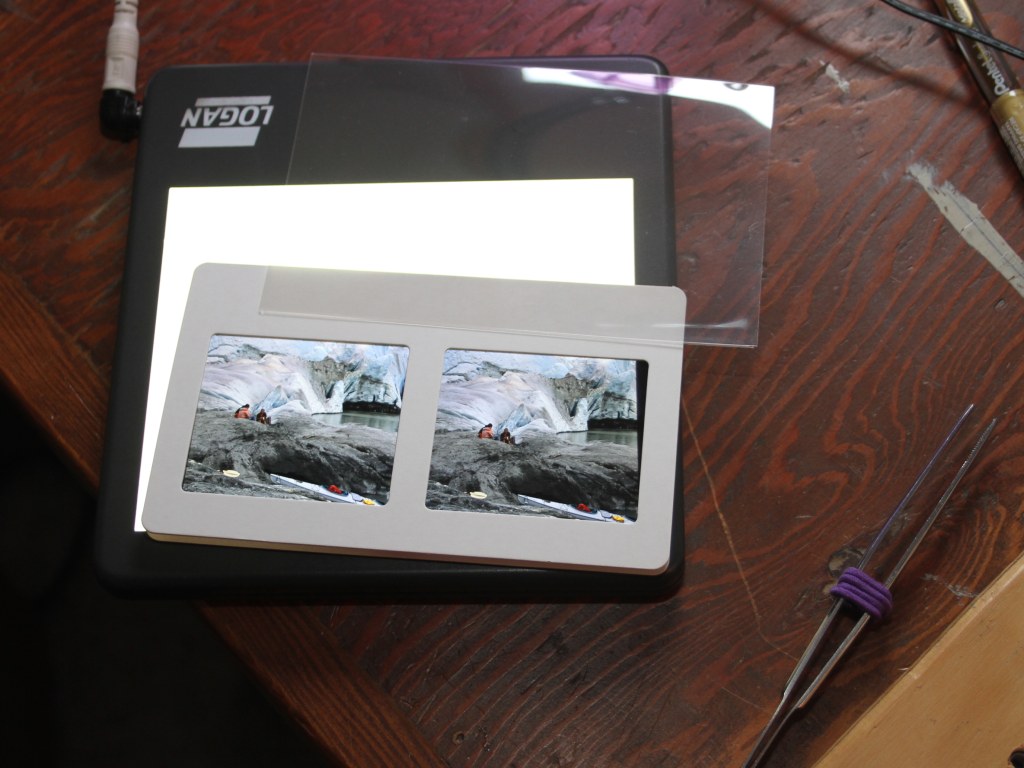
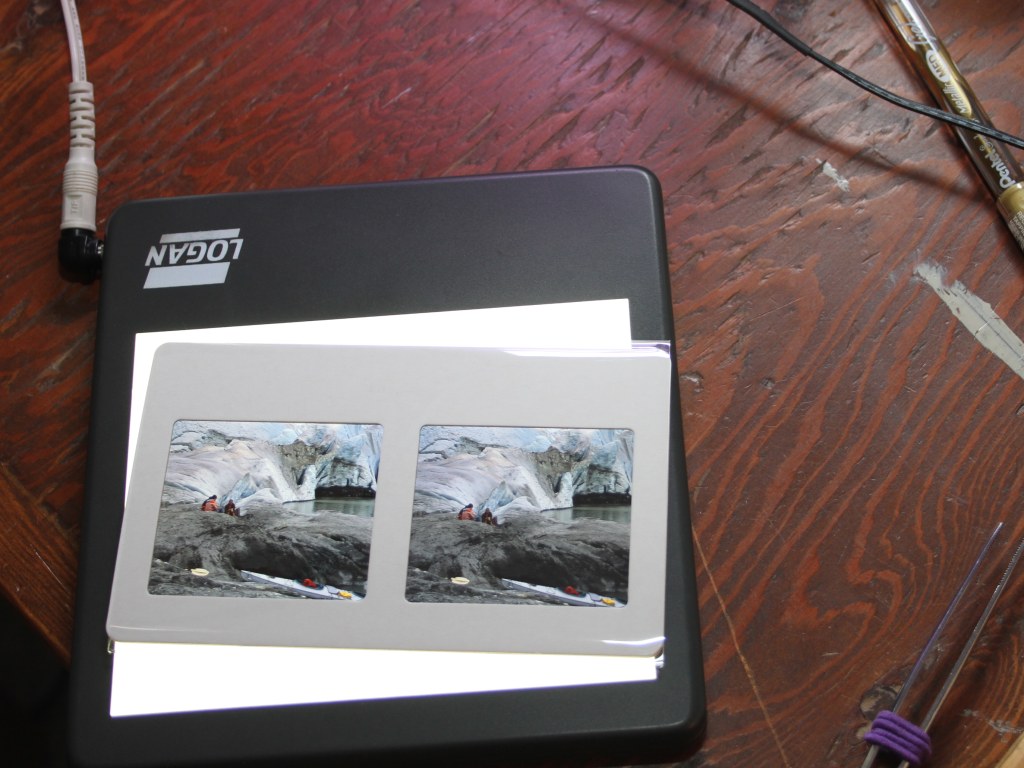
If the image isn’t worthy of a mount (or the time required), I’ll usually leave the halves in the sleeve. The next time I’m pawing through my box, I may change my mind and give it a mount.
]]> Over the years, there have been many comments on the mailing lists about the batteries in the TL120 camera. Over the years, I have measured and offered suggestions about these concerns. I have recently done more measurements and collected my information onto a single page.
Summary: The button cells used in the TL120 are not a very good match for its requirements. But since the camera is designed to use them,
- Use SR44 batteries
- Do not use LR44 batteries
- Keep a set of PR44 batteries in your camera bag as backup
 And since I was going in, it seemed like a good idea to take pictures and document it for the next person.
You can get your camera, a pair of tweezers, a couple of screwdrivers, and follow along!
There are a lot of pictures and process takes a lot of space to describe, so it gets its own page.
]]>
- Range of focus

- Accuracy of colors
- Limited distortion
- Eye relief
- Interocular adjustments
- Field of view

Different people value different features. No single viewer is going to make everyone happy.
There are those who strive to realistically recreate the the scene the camera saw at the time the image was made. I have, however, long been intrigued by wide-angle viewing regardless of the focal length of the lenses on the camera. I’ve wanted to get closer to the image and become part of it.
One of my experiments on this path involved replacing the lenses in a 3D-World focusing viewer with 60mm lenses. The resulting viewer looked just like the original, and it brought me closer to my images. That, however, is a topic for a different posting.
A posting to the MF3D mailing list in October 2011 and a subsequent phone conversation with Don Lopp convinced me to try a different approach. It starts with 50mm diameter binocular objectives, and 39mm achromatic eye pieces. The two elements are placed about 25mm apart. The  alignment of the two elements needs to be pretty precise. Deviations in the planes of the lenses or optic centers become apparent very quickly.
I started by hand-holding the elements above a slide. With two elements per eye, this wasn’t very practical and I mounted the elements in two pieces of wood. By placing them parallel to each other, at least the alignment was constrained in one dimension and everything was easier to hold. With a little trial and error, the lens boards were balanced on a section of cardboard which gave a fairly well focused image. The range of focus was very small, so inaccuracies in the cardboard,  tape and plywood construction were obvious. The resulting image, however, was big enough to keep me engaged and urge me to continue the experiment.
My brief efforts with hand tools had shown that I was not going to be able to achieve the required precision and alignment required to get the best out of my lens elements. I chose to pursue 3D-printing as a way to create a prototype with the correct tolerances. With no practical experience with 3D modeling or CAD, I was still able to work with a trial version of Autodesk Inventor and produce a viable model in exactly a month.
Printing the model required a week and cost about $100. When it came out of the shipping box, the lens elements fit in with only extremely minor sanding to the plastic. The resulting image through the viewer was superior to the plywood/cardboard version and justified the investment of time and money in the 3D design and printing.
Next Time: Dimensions, the viewing experience, and the next phase
]]>

50x50 and 50x40 mounts
What good is an image if you can’t view it?
How can you view your image if you can’t mount it?
There are several mounts from which to choose. How are they simmilar and how do they differ?
I’ve gathered some information on the multiple mounts available for medium format stereo slides.
]]> Immediately behind the lenses of the 3D World focusing viewer are visible, rectangular apertures. I found them distracting so I thought I would find out if I’d like my viewer more if they were gone. The answer is, “yes”!
Details can be found on the Viewer Mod page.
]]>- Inability to focus past infinity
- Internal reflections from a glossy plastic parts
Another change a few people haven’t enjoyed is the change in the lens retension system. In the original viewers, the lenses were retained with rings which threaded on the front of the lens barrels. In the new viewer, the lenses are retained with rings threaded behind the lenses (inside the lens barrel). This change doesn’t affect day-to-day use, but it does make it harder to install shorter lenses in place of the stock 75mm achromats.
I still say this viewer is a bargain. If you shoot medium format slides, you need to have one of these viewers.
]]> Digital images just stack up on your hard drive or at flickr. Physical images require physical storage space.
I’m still looking for the perfect way to store my medium format stereo slides, but have made some notes covering some things I’ve tried. Special mention is made of Peter Thomson’s 3D Treasures storage boxes.
Since first publishing this, I’ve heard from a couple of other photographers who have offered their storage methods for consideration.

Dan Vint suggests boxes from Light Impressions for storing slides. The company offers several sizes of boxes. Dan says he’s using the boxes designed for 4×5 images with good results. If these sizes aren’t to your liking, he pointed me at building supplies from Hollanders from which you can build your own.
Dorothy Mladenka says she stores her slides in boxes which originally held 250 sheets of 5×7 photo paper. They let her store her slides on edge and appear to be a very good fit. Of course with the decreasing popularity of darkroom printing, these may now be hard to come by in any quantity.
]]>This company is exhibiting two pre-production models of Holga Medium Format Stereo Cameras.
One model, the Holga 120 GCF 3D, has a 67 mm stereo base and an image format of approximately 54 x 53 mm (HxW). The lenses are cheap 1:8 f/60mm lenses
The second model, the Holga 120 PC-3D is a pinhole camera, with a pinhole of 0.3 mm and f 135.
Prices and availability are not known yet.
Anyone who expects these to have sharp lenses or light-tight bodies is probably going to disappointed, but they could still be fun to play with. Since Holgas sell for $20, maybe these will go for less than $50.
]]>